How to Batch Create KVM Shared IP VPS
Introduction:
When we have a high-performance server that we are not fully utilizing ourselves, we can consider creating a shared IP VPS for segmentation and selling to others. Using the script introduced in this article to create, each partitioned server can be independent of each other and not interfere with each other. A panel is also provided to manage the partitioned shared IP VPS.
Environmental requirements:
- System requirements: Debian 8+ (Debian 11 is recommended over Debian 12, as the latter is a beta version, while Debian 11 is the stable release)
- Hardware requirements: A server with at least a dual-core processor, 2 GB of memory, a 64-bit architecture, and at least 20 GB of hard drive space
- Requirements for hardware that can run KVM: VM-X or AMD-V support (supported by some VPS and all dedicated servers)
- If the hardware or system requirements are not met, you can use LXD to batch create LXC containers
Step 1: Check the environment
bash <(wget -qO- --no-check-certificate https://raw.githubusercontent.com/spiritLHLS/pve/main/scripts/check_kernal.sh)- Check if the system meets the requirements for installing PVE. If not, you won't be able to use the subsequent scripts
- Check if the hardware configuration meets the minimum requirements
- Check if the hardware environment can nest KVM-type virtual servers
- Check if the system environment can nest KVM-type virtual servers
- If KVM-type virtual servers cannot be nested, you can open LXC virtual servers, but it is not recommended to install PVE. It's better to use LXD instead

Step 2: Enable virtual memory
curl -L https://raw.githubusercontent.com/spiritLHLS/addswap/main/addswap.sh -o addswap.sh && chmod +x addswap.sh && bash addswap.shIt is recommended to add virtual memory twice the size of your RAM
Step 3: Install PVE
curl -L https://raw.githubusercontent.com/spiritLHLS/pve/main/scripts/install_pve.sh -o install_pve.sh && chmod +x install_pve.sh && bash install_pve.shAfter the installation, execute sudo reboot to restart the system
After logging in via SSH, wait at least 20 seconds before executing this script again
curl -L https://raw.githubusercontent.com/spiritLHLS/pve/main/scripts/install_pve.sh -o install_pve.sh && chmod +x install_pve.sh && bash install_pve.shAfter installation, you can open the HTTPS page. The username and password are the same as those used for the server (such as root and the password for the root user)
Step 4: Configure the environment
bash <(wget -qO- --no-check-certificate https://raw.githubusercontent.com/spiritLHLS/pve/main/scripts/build_backend.sh)
sudo reboot
bash <(wget -qO- --no-check-certificate https://raw.githubusercontent.com/spiritLHLS/pve/main/scripts/build_nat_network.sh)
Step 5: Create NAT
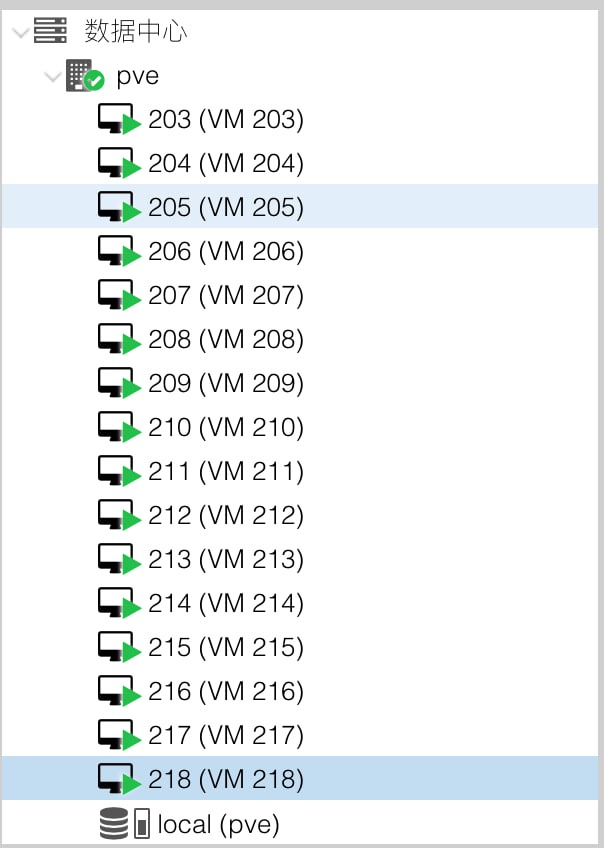
curl -L https://raw.githubusercontent.com/spiritLHLS/pve/main/scripts/create_vm.sh -o create_vm.sh && chmod +x create_vm.sh && bash create_vm.shInitial state:

Final state:


Original link:http://enblog.fuyiran.link/Technology/2.html
Copyright: All posts on this blog, unless otherwise stated, are published using theCC BY-NC-SA 4.0 license agreement. Please indicate the source for reprinting Fu Speaking (enblog.fuyiran.link)